dApp Template
The nethereum-dapp template gives you a complete, full-stack Ethereum dApp — Solidity contracts, C# code generation, a Blazor web UI with wallet integration, an embedded testing strategy, and the full DevChain + Indexer + Explorer infrastructure. Everything is wired together with .NET Aspire and ready to run.
If the DevChain template gives you the infrastructure, this template gives you the application on top of it.
What You'll Build
The template creates a solution with 9 projects spanning the entire development stack:
| Project | Role |
|---|---|
| AppHost | Aspire orchestrator — wires all services together |
| DevChain | Local Ethereum node (JSON-RPC, EIP-1559, debug tracing) |
| Indexer | Background worker indexing blocks, transactions, tokens into PostgreSQL |
| Explorer | Blazor blockchain explorer with contract interaction and ABI decoding |
| WebApp | Blazor dApp UI with EIP-6963 wallet connection and token interaction |
| LoadGenerator | Background worker generating test transactions (mint, transfer, ETH send) |
| ContractServices | Pre-generated C# typed contract access from Solidity ABI |
| Tests | Fast TDD tests with embedded DevChain (no Docker needed) |
| IntegrationTests | E2E tests against the running AppHost |
Plus a contracts/ directory with a complete Foundry project.
Prerequisites
- .NET 10 SDK or later
- Docker Desktop (for PostgreSQL)
- Foundry (optional — for Solidity compilation and Forge tests)
- A browser wallet supporting EIP-6963 (MetaMask, Rabby, etc.)
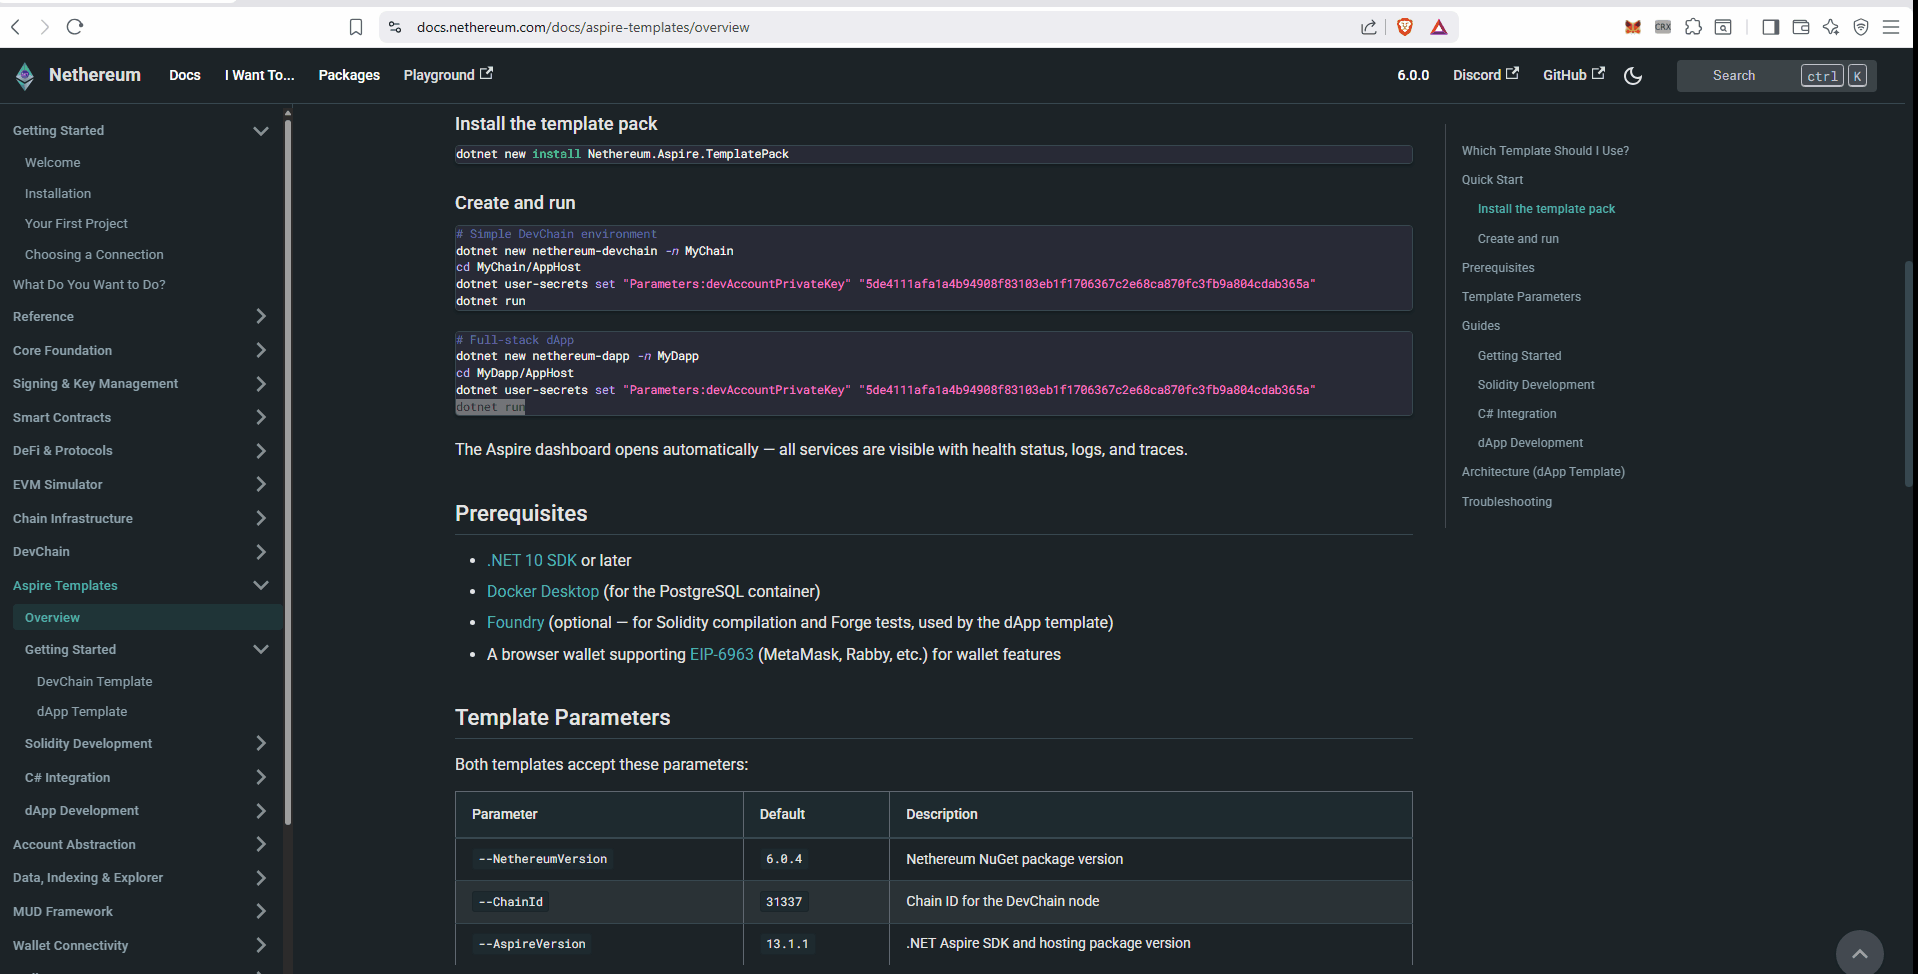
Step 1: Create the Project
dotnet new nethereum-dapp -n MyDapp
cd MyDapp
Step 2: Set the Dev Account Private Key
cd AppHost
dotnet user-secrets set "Parameters:devAccountPrivateKey" "5de4111afa1a4b94908f83103eb1f1706367c2e68ca870fc3fb9a804cdab365a"
cd ..
Step 3: Run the TDD Tests
Before starting any services, verify everything works with the fast unit tests:
dotnet test Tests/
These tests use an embedded DevChain — no Docker, no Aspire, no HTTP. They deploy contracts, call functions, and verify results in seconds. The template ships with 7 passing tests covering deploy, mint, transfer, approve, and transferFrom.
Step 4: Run the Full Stack
dotnet run --project AppHost
The Aspire dashboard opens at https://localhost:17178. All 6 services start up — DevChain, Indexer, Explorer, WebApp, LoadGenerator, and PostgreSQL.
Step 5: Use the WebApp
Open the WebApp URL from the Aspire dashboard. The Token Interaction page walks you through the full ERC-20 lifecycle:
- Connect your wallet — click "Connect Wallet" in the header (MetaMask or any EIP-6963 wallet)
- Switch to the DevChain — if you're on the wrong chain, click "Switch to DevChain" (MetaMask will prompt to add the network)
- Deploy a token — set name, symbol, initial supply, and click Deploy
- Mint tokens — send new tokens to any address
- Transfer tokens — move tokens between addresses
- Check balances — query any address's token balance
Step 6: Explore in the Explorer
Open the Explorer URL from the dashboard. You'll see:
- All transactions from the LoadGenerator and your WebApp interactions
- Click any contract address — if it was deployed from the template's Solidity contracts, the Explorer auto-discovers the ABI from the Foundry build output and shows decoded function calls and a contract interaction UI
Step 7: Run Integration Tests
With the AppHost still running:
dotnet test IntegrationTests/
These E2E tests connect to the live DevChain, deploy contracts, and verify the full pipeline works including indexer processing.
Project Structure
MyDapp/
├── AppHost/            Aspire orchestrator
├── DevChain/           Ethereum node
├── Indexer/            Block indexer → PostgreSQL
├── Explorer/           Blockchain explorer
├── WebApp/             dApp UI with wallet integration
├── LoadGenerator/      Test transaction generator
├── ContractServices/   Generated C# typed contracts
├── Tests/              TDD tests (embedded DevChain)
├── IntegrationTests/   E2E tests (live AppHost)
├── ServiceDefaults/    Shared Aspire config
├── contracts/          Foundry project
│   ├── src/            Solidity source (MyToken.sol)
│   ├── test/           Forge tests (MyToken.t.sol)
│   ├── script/         Deploy scripts (Deploy.s.sol)
│   └── out/            Compiled artifacts (ABI, bytecode)
└── scripts/            C# code generation scripts
The Development Loop
The template supports a fast inner loop:
- Edit Solidity in
contracts/src/ - Compile with
cd contracts && forge build - Test in Solidity with
forge test - Regenerate C# with
pwsh scripts/generate-csharp.ps1(orbash scripts/generate-csharp.sh) - Test in C# with
dotnet test Tests/(fast, no Docker) - Run the full stack with
dotnet run --project AppHost - Test E2E with
dotnet test IntegrationTests/
The template ships with pre-generated C# so you can skip steps 1-4 and go straight to dotnet test and dotnet run.
Next Steps
Each part of this template has a detailed guide. Follow them in order for the full learning path, or jump to what you need:
Solidity Development:
- VS Code Solidity Setup — Set up your editor for Solidity development
- Write Solidity Contracts — Add new contracts to the Foundry project
- Test with Forge — Write Solidity unit tests with fuzz testing and gas reports
- Deploy with Forge Scripts — Deploy contracts to the DevChain from the command line
C# Integration:
- Generate C# from Solidity — Convert Solidity ABIs into typed C# services
- Unit Test with C# — Write fast TDD tests against the embedded DevChain
- Integration Testing — Run E2E tests against the full Aspire stack
dApp Development:
- Wallet Integration — Understand the EIP-6963 wallet flow in detail
- Token Interaction UI — Walk through the deploy/mint/transfer Blazor page
- Explorer ABI Discovery — How deployed contracts get auto-discovered ABIs