Hardware Wallets
var signer = new TrezorExternalSigner(trezorManager, index: 0);
var externalAccount = new ExternalAccount(signer, chainId: 1);
await externalAccount.InitialiseAsync();
var web3 = new Web3(externalAccount, "https://your-rpc-url");

// From here, use web3 exactly like a regular account
var receipt = await web3.Eth.GetEtherTransferService()
    .TransferEtherAndWaitForReceiptAsync(toAddress, 0.1m);
Connect the device, initialise the account, and use the same web3.Eth methods. Signing happens on-device automatically.
For high-value accounts or end-user wallets, hardware devices provide the strongest local security — the private key is generated on the device and never leaves it. Nethereum sends unsigned transactions to the device, the user confirms on the hardware screen, and Nethereum receives the signature back.
Both Trezor and Ledger use the ExternalAccount pattern (covered in Keys & Accounts). Once initialised, they work identically to a regular Account with Web3 — you call the same web3.Eth methods and signing is delegated transparently.
Trezor
Trezor is the more feature-rich integration — it supports interactive EIP-712 signing (the device displays each field for user confirmation), personal message signing, PIN/passphrase handling, and cross-platform device access.
dotnet add package Nethereum.Signer.Trezor
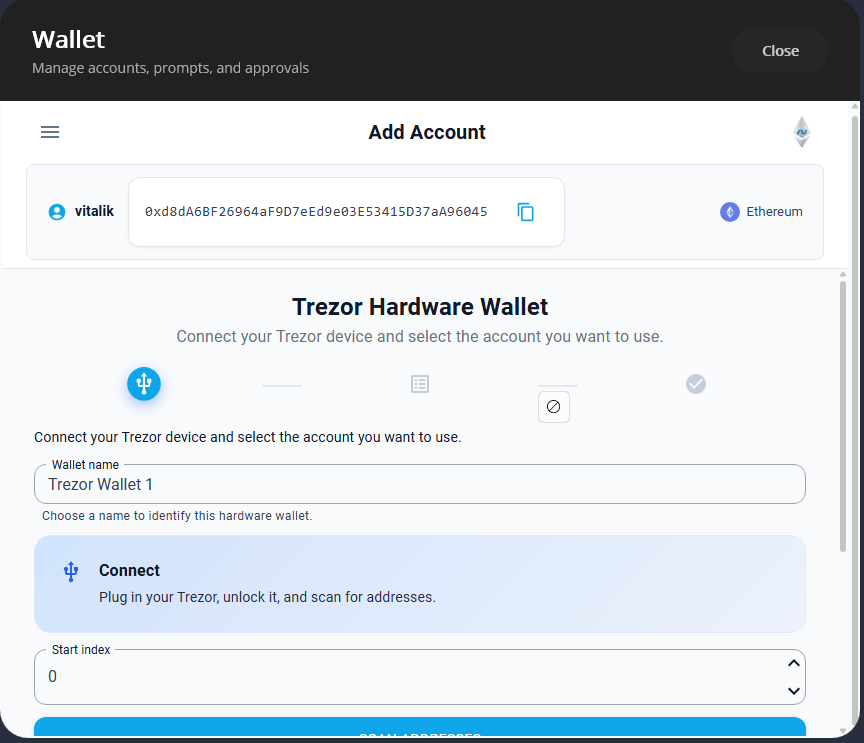
Connect and Get Address
Trezor requires an ITrezorPromptHandler — but which callbacks the device actually invokes depends on the model:
- Trezor One — PIN entry happens in your app. The device shows a scrambled numpad layout; the user types the positions in your UI.
GetPinAsync()is called. - Trezor Model T / Safe 3 / Safe 5 — PIN is entered on the device touchscreen.
GetPinAsync()is never called. - All models —
ButtonAckAsync()is called whenever the device requests physical confirmation (e.g., "Confirm transaction").GetPassphraseAsync()is called if the user has enabled a passphrase (25th word).
You must implement all three methods regardless of which model your users have — the handler must be ready for any device:
using Nethereum.Signer.Trezor;
using Nethereum.Signer.Trezor.Abstractions;
using Nethereum.Web3;
using Nethereum.Web3.Accounts;

public class ConsolePinHandler : ITrezorPromptHandler
{
    public Task<string> GetPinAsync()
    {
        // Called by Trezor One — user enters numpad positions
        // matching the scrambled layout on the device screen
        // (device rows: 7 8 9 / 4 5 6 / 1 2 3)
        Console.Write("PIN: ");
        return Task.FromResult(Console.ReadLine()?.Trim() ?? string.Empty);
    }

    public Task<string> GetPassphraseAsync()
    {
        // Called when passphrase (25th word) is enabled
        Console.Write("Enter passphrase: ");
        return Task.FromResult(Console.ReadLine()?.Trim() ?? string.Empty);
    }

    public Task ButtonAckAsync(string context)
    {
        // Called when the device needs physical confirmation
        Console.WriteLine($"Confirm on device: {context}");
        return Task.CompletedTask;
    }
}
Nethereum also provides a built-in ConsolePromptHandler for CLI scenarios.
Create the signer and connect:
var promptHandler = new ConsolePinHandler();
var trezorBroker = NethereumTrezorManagerBrokerFactory.Create(
    promptHandler, loggerFactory);

var signer = new TrezorExternalSigner(trezorBroker.TrezorManager, index: 0);
var externalAccount = new ExternalAccount(signer, chainId: 1);
await externalAccount.InitialiseAsync();

Console.WriteLine($"Address: {externalAccount.Address}");

var web3 = new Web3(externalAccount, "https://your-rpc-url");
Sign and Send a Transaction
Once initialised, transactions work exactly like a regular account — gas, nonce, and EIP-1559 fees are all automatic:
var receipt = await web3.Eth.GetEtherTransferService()
    .TransferEtherAndWaitForReceiptAsync(toAddress, 0.1m);
The user sees the transaction details on the Trezor screen and must physically confirm before signing proceeds.
EIP-1559 with Explicit Fees
var receipt = await web3.Eth.GetEtherTransferService()
    .TransferEtherAndWaitForReceiptAsync(toAddress, 0.1m,
        maxPriorityFeePerGas: 2,
        maxFeePerGas: 30);
Sign a Personal Message
Trezor supports personal_sign — the device displays the message for user confirmation before signing:
var message = System.Text.Encoding.UTF8.GetBytes("Hello Ethereum!");
var signature = await signer.SignEthereumMessageAsync(message);
This is useful for wallet authentication (Sign-In with Ethereum) and off-chain approvals where you want the user to see exactly what they're signing on the hardware screen.
Interactive EIP-712 Signing
Trezor's standout feature is interactive EIP-712 signing. The device walks the user through each field of the typed data, displaying names and values on-screen for confirmation. This prevents blind-signing attacks — the user sees exactly what they're approving.
var typedData = new TypedData<Domain>
{
    PrimaryType = "Permit",
    Domain = new Domain
    {
        Name = "MyToken",
        Version = "1",
        ChainId = 1,
        VerifyingContract = "0x1234567890abcdef1234567890abcdef12345678"
    },
    Types = MemberDescriptionFactory.GetTypesMemberDescription(
        typeof(Domain), typeof(Permit)),
};

var permit = new Permit
{
    Owner = "0xCD2a3d9F938E13CD947Ec05AbC7FE734Df8DD826",
    Spender = "0xbBbBBBBbbBBBbbbBbbBbbbbBBbBbbbbBbBbbBBbB",
    Value = BigInteger.Parse("1000000000000000000"),
    Nonce = 0,
    Deadline = BigInteger.Parse("1000000000000")
};

var signature = await signer.SignTypedDataAsync(typedData);
For hash-based EIP-712 signing (when the device firmware doesn't support interactive mode), use the fallback:
var signature = await signer.SignTypedDataHashAsync(
    domainSeparatorHash, messageHash);
Multiple Accounts
Derive different accounts by changing the index. Each index maps to a different address on the same BIP-32 derivation path (m/44'/60'/0'/0/x):
var signer0 = new TrezorExternalSigner(trezorBroker.TrezorManager, index: 0);
var signer1 = new TrezorExternalSigner(trezorBroker.TrezorManager, index: 1);
Custom Derivation Path
var signer = new TrezorExternalSigner(
    trezorBroker.TrezorManager,
    customPath: "m/44'/60'/1'/0",
    index: 0);
Cross-Platform Setup
Trezor supports multiple platforms through device factory providers:
// Windows — uses Windows HID/USB (default)
var broker = NethereumTrezorManagerBrokerFactory.Create(
    promptHandler, loggerFactory);

// Cross-platform — auto-detects OS
var broker = NethereumTrezorManagerBrokerFactory.CreateDefault(
    promptHandler, loggerFactory);

// Linux/macOS — requires LibUSB device factory
var broker = NethereumTrezorManagerBrokerFactory.Create(
    new LibUsbDeviceFactoryProvider(), promptHandler, loggerFactory);
Refresh Address from Device
Force the device to re-derive and return the address (useful if you suspect the cached address is stale):
var freshAddress = await signer.RefreshAddressFromDeviceAsync();
Ledger
Ledger has a simpler setup — no PIN handler needed (PIN entry happens on the device itself). The trade-off is fewer software-side features: EIP-712 signing uses hash-based verification rather than interactive field display, and the factory is Windows-only (though you can use Ledger.Net directly on other platforms).
dotnet add package Nethereum.Signer.Ledger
Connect and Get Address
using Nethereum.Signer.Ledger;
using Nethereum.Web3;
using Nethereum.Web3.Accounts;

var ledgerBroker = NethereumLedgerManagerBrokerFactory.CreateWindowsHidUsb();
var signer = new LedgerExternalSigner(ledgerBroker.LedgerManager, index: 0);

var externalAccount = new ExternalAccount(signer, chainId: 1);
await externalAccount.InitialiseAsync();

Console.WriteLine($"Address: {externalAccount.Address}");

var web3 = new Web3(externalAccount, "https://your-rpc-url");
Sign and Send a Transaction
var receipt = await web3.Eth.GetEtherTransferService()
    .TransferEtherAndWaitForReceiptAsync(toAddress, 0.1m);
EIP-1559 with Explicit Fees
var receipt = await web3.Eth.GetEtherTransferService()
    .TransferEtherAndWaitForReceiptAsync(toAddress, 0.1m,
        maxPriorityFeePerGas: 2,
        maxFeePerGas: 30);
Multiple Accounts
var signer0 = new LedgerExternalSigner(ledgerBroker.LedgerManager, index: 0);
var signer1 = new LedgerExternalSigner(ledgerBroker.LedgerManager, index: 1);
Legacy Derivation Path
Ledger Live uses m/44'/60'/0'/0/x (default). For the older Ledger/Electrum path:
var signer = new LedgerExternalSigner(
    ledgerBroker.LedgerManager, index: 0, legacyPath: true);
// Uses: m/44'/60'/0'
Custom Derivation Path
var signer = new LedgerExternalSigner(
    ledgerBroker.LedgerManager, index: 0,
    customPath: "m/44'/60'/1'/0");
Choosing Between Trezor and Ledger
| Feature | Trezor | Ledger |
|---|---|---|
| Package | Nethereum.Signer.Trezor | Nethereum.Signer.Ledger |
| PIN entry | Trezor One: via ITrezorPromptHandler in your app. Model T/Safe: on-device touchscreen | On the device itself |
| Passphrase (25th word) | Via prompt handler (all models) | On the device |
| Personal message signing | Yes — device displays message | Hash-only (inherited from base) |
| EIP-712 typed data | Yes — interactive, device shows each field | Hash-only (device signs the hash) |
| EIP-1559 transactions | Yes | Yes |
| V value calculation | Device calculates complete signature | Framework calculates V from R+S |
| Transaction format | Transaction objects | RLP-encoded bytes |
| Cross-platform factory | Yes — Windows, Linux, macOS | Windows-only factory (use Ledger.Net directly for other platforms) |
| Address refresh | Yes — RefreshAddressFromDeviceAsync() | No |
Key difference for EIP-712: Trezor shows the user each typed data field on the device screen (e.g., "Spender: 0xbBbB...", "Value: 1000000000000000000"). Ledger signs the hash of the encoded data without displaying the individual fields — the user confirms a hash, not the human-readable data. If your application relies on EIP-712 permits or off-chain orders, Trezor provides a better user experience.
Key difference for setup: Ledger is simpler to integrate — no prompt handler interface to implement. PIN and passphrase are handled entirely on the physical device. For Trezor, you must implement ITrezorPromptHandler — but note that newer Trezor models (Model T, Safe 3, Safe 5) handle PIN on their touchscreen, so GetPinAsync() is only called for the Trezor One. You still need the handler for ButtonAckAsync() and GetPassphraseAsync() on all models.
How ExternalAccount Works
Both signers implement IEthExternalSigner, which defines the signing contract. ExternalAccount wraps any IEthExternalSigner so it works seamlessly with Web3:
// This pattern is identical for Trezor, Ledger, AWS KMS, Azure Key Vault,
// or any custom IEthExternalSigner implementation
var externalAccount = new ExternalAccount(signer, chainId: 1);
await externalAccount.InitialiseAsync();
var web3 = new Web3(externalAccount, rpcUrl);

// All web3.Eth methods work transparently
var balance = await web3.Eth.GetBalance.SendRequestAsync(externalAccount.Address);
var receipt = await web3.Eth.GetEtherTransferService()
    .TransferEtherAndWaitForReceiptAsync(to, amount);
Once initialised, you never interact with the signer directly — Web3 delegates signing through the TransactionManager automatically.
Next Steps
- Cloud KMS — for server-side signing without local hardware, use AWS KMS or Azure Key Vault HSMs
- EIP-712 Typed Data Signing — understand the typed data format that Trezor displays interactively
- Keys & Accounts — account types and the
ExternalAccountpattern in detail
Related Packages
- Nethereum.Signer.Trezor — Trezor device integration
- Nethereum.Signer.Ledger — Ledger device integration
- Nethereum.Signer — base signing infrastructure and
IEthExternalSigner